博客
Repost: The making of the Imagination O3DE ray tracing GDC 2022 demo
December 7, 2022
After a couple of years of not being able to attend in person, earlier this year, Imagination was delighted to be able to send a team of both first-timers and experienced veterans to attend the Game Developer Conference (GDC) in San Francisco in March 2022. This mix of experiences proved to be perfect for a trip that was both enjoyable and productive for the Imagination team. As ever, the main aim was to connect with our network of partners, collaborators, and clients and to present our recent and upcoming advancements to other companies and game developers in general.
...CMake 基础系列 - 第 4 部分
November 16, 2022
在最后一部分中,我们将介绍为其他项目安装程序库所需的命令。
动机
在本系列文章中,我们已经学习了如何使用 CMake 和利用现有库,但还没有学习到如何编写新库以便他人轻松集成。通过遵循这些最佳实践,我们可以使我们的库易于使用,更有可能被采用。
示例
CMake 提供的各种安装命令至少可以说有点令人困惑。造成混乱的主要原因是 install 命令本身(在 CMakeLists.txt 文件中使用的命令)有许多变体,每个变体所做的事情略有不同。我们将依次介绍每种变体,看看安装静态库以便在其他应用程序中使用需要做些什么。
CMakeLists.txt 文件以一些熟悉的命令开始。
cmake_minimum_required(VERSION 3.15)
project(calculator)
add_library(${PROJECT_NAME}) #1
target_sources(${PROJECT_NAME} PRIVATE src/calculator.cpp) #2
我们不创建可执行文件/应用程序,而是创建一个库 (#1),并添加相关源代码 (#2)。
include(GNUInstallDirs) #3
然后,我们必须引入一些标准的安装位置路径,以确保安装的可移植性,这些路径可通过包含 GNUInstallDirs (#3) 提供。
target_include_directories(
    ${PROJECT_NAME}
    PUBLIC $<BUILD_INTERFACE:${CMAKE_CURRENT_SOURCE_DIR}/include> #4
           $<INSTALL_INTERFACE:${CMAKE_INSTALL_INCLUDEDIR}>)      #5
接下来我们设置库的包含路径(#4)。请注意,我们使用了一个生成器表达式(也许将来会成为另一篇博文的主题)来配置在何处查找包含。
这可以是安装后使用的导入目标 (#5),也可以是正常编译的一部分(由 BUILD_INTERFACE 和 INSTALL_INTERFACE区分)。
install( #6
    TARGETS ${PROJECT_NAME}
    EXPORT ${PROJECT_NAME}-config
    ARCHIVE DESTINATION ${CMAKE_INSTALL_LIBDIR})

install( #7
    EXPORT ${PROJECT_NAME}-config
    NAMESPACE ${PROJECT_NAME}::
    DESTINATION ${CMAKE_INSTALL_LIBDIR}/cmake/${PROJECT_NAME})

install(
    DIRECTORY ${CMAKE_CURRENT_LIST_DIR}/include/${PROJECT_NAME}/ #8
    DESTINATION ${CMAKE_INSTALL_INCLUDEDIR}/${PROJECT_NAME})
最后三个步骤是虚幻的 install 命令。我们首先指定要安装的目标 (#6)。我们设置导出名称(不需要与目标名称匹配,但通常需要),这是 CMake 在使用 find_package 时查找的名称。我们还要指定联编库文件的安装位置(${CMAKE_INSTALL_LIBDIR} 由 GNUInstallDirs 提供)。
接下来,我们必须将导出文件安装(复制)到安装位置(#7)。在此设置命名空间是个好做法,因此客户端必须使用 calculator::calculator 将其标识为导入目标,我们还必须设置导出文件的安装位置。
O3DE Visual Studio 2022 Support!
November 9, 2022
With the 22.10.0 release of Open 3D Engine (O3DE), Visual Studio 2022 (VS2022) is now fully supported within O3DE.
Background
When we say that O3DE “fully supports” Visual Studio 2022, we are referring to building O3DE projects using Visual Studio 2022
v143 toolset .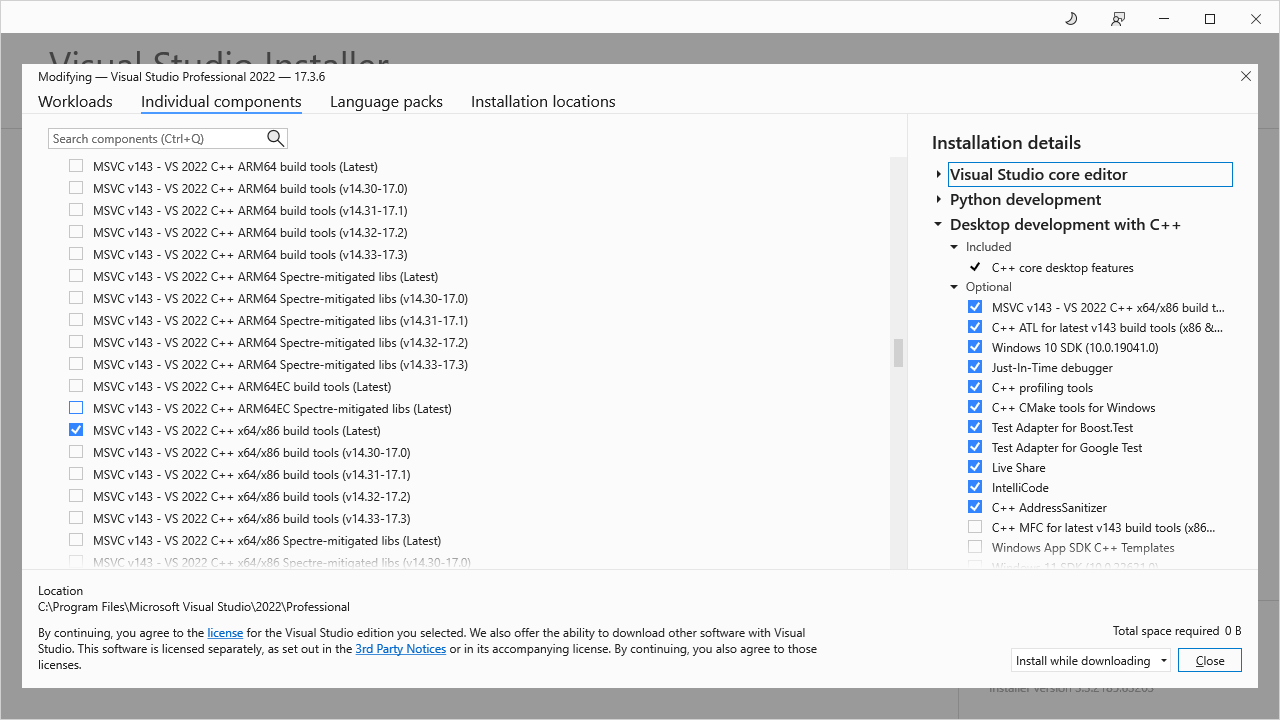
Because O3DE uses
CMake as its build system generator, it has been possible since the release of
CMake 3.21 to configure and attempt to build using Visual Studio 2022. By attempt, we mean that building O3DE using Visual Studio 2022 could occur, but would have most likely failed due to stricter compiler warnings which were triggering using the newer v143 toolset.
The backend continuous integration (CI) build infrastructure for validating new commits to O3DE via the Automated Review (AR) pipeline wasn’t setup to build against the v143 toolset.
Before the 22.10.0 release, Windows continuous integration nodes only had Visual Studio 2019 (VS2019) build tools installed. The
v142 toolset was the only Microsoft Visual C++ (MSVC) toolset validated at the time and therefore build breakages of O3DE building against the Visual Studio 2022 v143 toolset were common and took days to discover.
CMake 基础系列 - 第 3 部分
November 2, 2022
如何在 CMake 项目中集成更大的第三方依赖项,并在多个项目中重复使用它们。
动机
虽然 FetchContent 对某些事情很有用,但它并不总是正确的工具。当需要集成较大的依赖(如完整的框架或软件包)时,与其将其作为同一构建的一部分,不如单独构建和安装依赖,然后使用 find_package 将其集成到主构建中。
示例
许多 C++ 库都支持一个名为 “安装 ”的概念。所谓安装,就是将所有相关的构建工件复制到一个特定位置(例如 .h 文件、.lib/.dll/.a/.so 文件和 CMake 配置文件),以便另一个应用程序或库可以使用它们。默认情况下,安装程序会将文件复制到系统默认位置,但也可以自由配置。
假设我们要为一个小原型下载、构建并安装 Google Test。命令如下:
> git clone https://github.com/google/googletest.git #1
> cd googletest #2
> cmake -S . -B build -DCMAKE_INSTALL_PREFIX=../gtest-install -Dgtest_force_shared_crt=ON #3
> cmake --build build --target install #4
首先,我们只需克隆 Google Test 代码库,然后导航到该文件夹(#1 和 #2)。
然后,我们运行 CMake configure 命令 (#3),并提供一个带有 -DCMAKE_INSTALL_PREFIX的安装文件夹(否则在 Windows 下会被放在 C:\Program Files 中,在 Linux/macOS 下会被放在 usr/local/lib 和 usr/local/include 中)。
SIG Simulation Highlight
October 26, 2022
This summer marked the Open 3D Engine’s first year, and with it, the celebration of the Engine’s immense growth in members, code contributions, and much more. With this incredible momentum came a recent election of a new chair and co-chair for Special Interest Group (SIG) Simulation, a vital part of the project, from Huawei . As a Premier member of the Open 3D Foundation (O3DF) and a major contributor to the Engine, Huawei understands the importance of SIG Simulation to the Open 3D Engine (O3DE). We sat down with new Chair and Co-Chair of SIG Simulation, Lars Gleim and Bo Gao, to discuss their insights into this SIG’s essential work and their hopes for O3DE’s future.
...CMake 基础系列 - 第 2 部分
October 19, 2022
如何在 CMake 项目中快速集成第三方库。
动机
C++ 中的依赖关系管理一直是个难题。在没有任何软件包管理器的情况下,手动引入一个库的步骤既耗时又容易出错。幸运的是,CMake 最近(3.11-3.14)增加了一个功能,使这一工作变得异常简单。
示例
让依赖关系管理变得轻而易举的杀手级功能是FetchContent。让我们继续上一部分的内容,为 “Hello, World!”应用程序添加一些有用的功能。假设我们想使用一个迭代器库,但又不想把它复制到源代码树中,然后自己手动配置构建。我们可以这样使用 FetchContent(新代码遵循
Part 1 中的 project 命令)。
...
include(FetchContent) #1
FetchContent_Declare( #2
  EasyIterator #3
  GIT_REPOSITORY https://github.com/TheLartians/EasyIterator.git #4
  GIT_TAG aab0c0d8fd17708c64522408d9b304729dbc3a3f #5
)
FetchContent_MakeAvailable(EasyIterator) #6
...
target_link_libraries(${PROJECT_NAME} PRIVATE EasyIterator) #7
...
首先,我们需要将 CMake FetchContent 模块引入我们的 CMakeLists.txt 文件 (#1)。
然后,我们使用 FetchContent_Declare (#2)声明我们要使用的库。
我们给依赖库取一个名字 (#3),并将其指向我们要使用的库的 git 仓库 (#4)(GIT_REPOSITORY 只是众多选项之一,如本地路径的 SOURCE_DIR)。
最后,将库的版本固定在特定的提交(或标签,如果存在的话)(#5)上是个不错的做法,这样后续的上游更改就不会立即破坏我们的库。
FetchContent_MakeAvailable (#6) 然后在幕后进行大量工作,但本质上只是让我们的应用程序可以使用目标。
我们需要做的最后一件事就是链接依赖项(#7)。这样做的好处是,只要我们所依赖的项目设置正确,就不需要接触 include 或库路径,一切都由上游处理,与我们无关。
这样,我们就可以编写一个改进的 ‘Hello, <planet>‘程序,在每次迭代时输出索引。
#include <easy_iterator.h>
...
std::vector<std::string> planets = {
    "Mercury", "Venus", "Earth", "Mars", "Jupiter", "Saturn", "Uranus", "Neptune", "Pluto?"};
for (auto [index, planet] : easy_iterator::enumerate(planets)) {
    std::cout << index << ": Hello," << ' ' << planet << '\n';
}

// outputs:
// 1: Hello, Mercury
// 2: Hello, Venus
// 3: Hello, Earth
// ...
//
讨论
FetchContent 对于小型、简单、快速构建的库来说是非常好的。依赖库会直接与我们的应用程序一起构建(依赖库实际上在 build/_deps 中)。(对于较大的依赖库,我们可能需要在较早的阶段单独构建它们,然后使用 find_package 命令将其引入(下次再详述……)。FetchContent 也只适用于使用 CMake 构建的项目,不过现在绝大多数项目都使用 CMake 构建,即使那些不使用 CMake 构建的项目也通常有社区维护的 CMake 版本。以
bgfx.cmake 为例。
Open 3D Engine Version 22.10 Eases Team Onboarding and Collaboration, Artist Workflows and Multiplayer Setup While Increasing Terrain Performance
October 17, 2022
We’re excited to announce the latest release of the Open 3D Engine (O3DE), as the community gathers in Austin, Texas for O3DCon . Release 22.10 brings a wealth of performance, stability and usability enhancements, making it easier for developers, artists and content creators worldwide to build amazing 3D experiences. New capabilities ease team onboarding and collaboration, artist workflows and multiplayer setup, alongside additional rendering features and increased Terrain system performance, which is now available in preview.
...2022 O3DE User Survey Report
October 12, 2022
On a Mission to Continuously Improving the User Experience in O3DE
The O3DE user interface and user experience Special Interest Group (SIG UI-UX) conducted a survey in June 2022 with the goal to continuously improve the Open 3D Engine (O3DE) experience for developers, artists, content creators and other users. Results from over 200 participants provided a snapshot that will be used to guide the evolution of features, capabilities and enhancements to improve user experience in future releases of O3DE.
...CMake 基础系列 - 第 1 部分
October 5, 2022
本系列旨在概述 CMake 中一些最有用的功能,以及如何在 O3DE 中应用这些功能。
动机
CMake 是 C++ 社区使用最广泛的构建系统,了解如何最好地使用它,就能在 O3DE 中进行 C++ 开发。项目设置变得轻而易举,与开源项目的集成也变得更加简单。
示例
作为本系列的开头,我们将展示启动并运行 ‘Hello, World!’ 应用程序所需的最少代码量。首先创建一个新文件夹,并在其中创建一个空的 main.cpp 和 CMakeLists.txt 文件。
mkdir cmake-essentials-part1 && cd cmake-essentials-part1
touch main.cpp && touch CMakeLists.txt
CMakeLists.txt文件看起来像这样:
cmake_minimum_required(VERSION 3.15) # 1
project(cmake-essentials-part1 LANGUAGES CXX) # 2
add_executable(${PROJECT_NAME}) # 3
target_sources(${PROJECT_NAME} PRIVATE main.cpp) # 4
target_compile_features(${PROJECT_NAME} PRIVATE cxx_std_17) # 5
首先,我们设置 CMake 版本 (#1)。在 CMakeLists.txt 文件的顶层,这一行必须放在第一位(3.15是一个安全的选择,但也可以选择更新的版本)。
接下来是 project 命令(#2),它应紧跟在 cmake_minimum_required 之后(LANGUAGES 是可选项,但也是很好的做法)。
然后,我们创建要编译的目标(#3),这里是一个可执行文件(${PROJECT_NAME}映射到cmake-essentials-part1,即project命令中设置的名称)。
For the Love of the Game: In Search of Best-of-Breed 3D Creation Tools
September 21, 2022
For the Love of the Game: In Search of Best-of-Breed 3D Creation Tools
Born out of a desire to make their own games, indie game developers Jacob Dodenhoff and Phoenix Cook forged Chaotic Creations Interactive (CCI), a small game development studio in the mid-west of the United States. Their studio reflects who they are and what they value: the players, and the commitments they make to them. Since the birth of CCI, they’ve been exploring game engines and they discovered the Open 3D Engine in July 2021 when it was announced. In this blog, they share their experiences and offer insight to newcomers who may be interested in taking the Open 3D Engine for a spin.
...