设置Actor实体
将蒙皮网格设置为Actor后,就可以创建Actor实体。然后将附件作为主实体的父实体,并将附件与主Actor排成一行。
要创建Actor实体
从资产浏览器中,选择并拖动主Actor文件和附件Actor文件到视口。
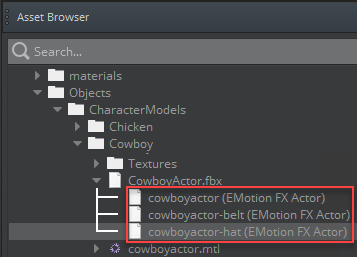
O3DE 会自动将每个文件添加为自己的Actor组件实体。
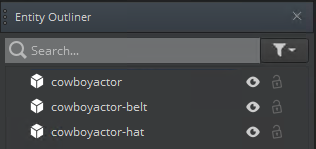
在Entity Outliner中,单击并拖动附件实体到主实体,这样附件Actor实体就会成为主Actor实体的父实体。
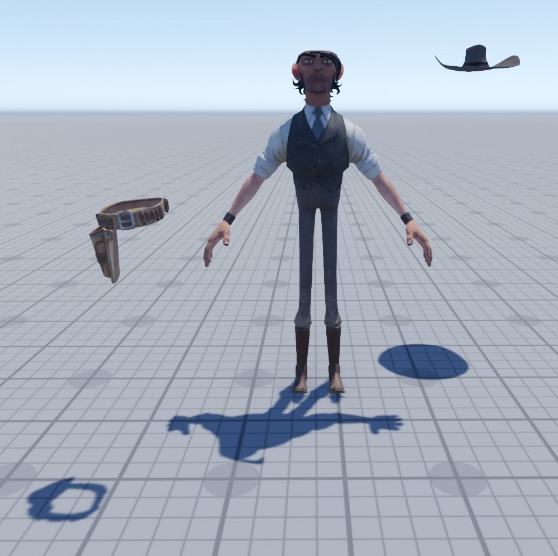
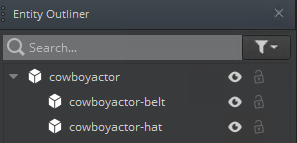 Note:附件实体可能与主实体不一致。下一步将解决这个问题。
Example
要使子实体与父实体对齐,请选择一个子实体(附件),然后在Entity Inspector中指定Translate值为 “0”。对其他子实体重复上述操作。
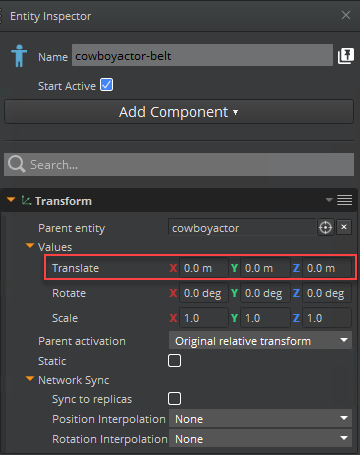
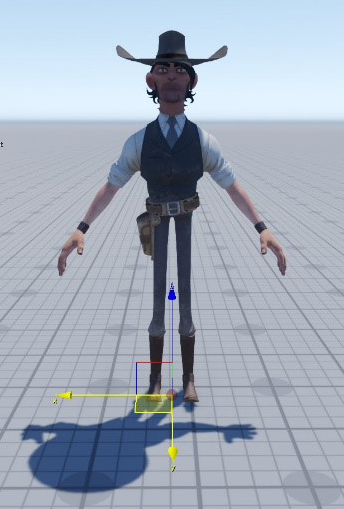
现在,附件与主要Actor实体保持一致。
对每个子实体执行以下操作:
在Actor组件中,为Attachment type选择Skin attachment。
对于Target entity,点击
 ,选择用于附加蒙皮网格的主Actor (例如 cowboyactor)。
组件实体设置完成。当您的主Actor产生动画时,附加的蒙皮网格附件将与主要Actor的骨架一起产生动画。